 Configuration - O365 Modern Sites
- Open the page where you want to have tabbed web parts!
- Edit the page and add SimpleTabs Web Part for Modern Sites into a section you decide. (SimpleTabs for Modern Sites web part can be found under "Advanced" group)
- SimpleTabs sould be the first (top) web part on that section. Any other web parts under it will appear as tabs when publishing the page.
- Please reorder the web parts if necessary to make sure the proper order.
- Save the page and publish (If enabled).
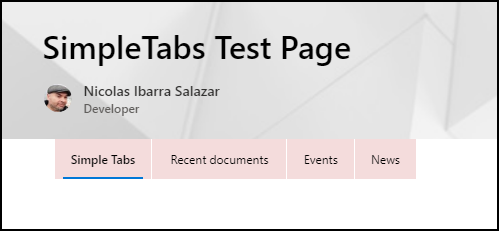
In the following example we have a page containing four stacked web parts:
- Image web part
- Recent documents
- Calendar
- News
After adding SimpleTabs on top of them and configure it, it will automatically tab them using each web part title as tab name, you can change this to customize tab names.
See it in action:
Check the following animation on how to change SimpleTabs web part properties:
You can use default tab names (given by web part title), or specify your own values.
To change tab names, edit the page, edit SimpleTabs web part, then enter tab name values split by semicolon (;)
See it in action:
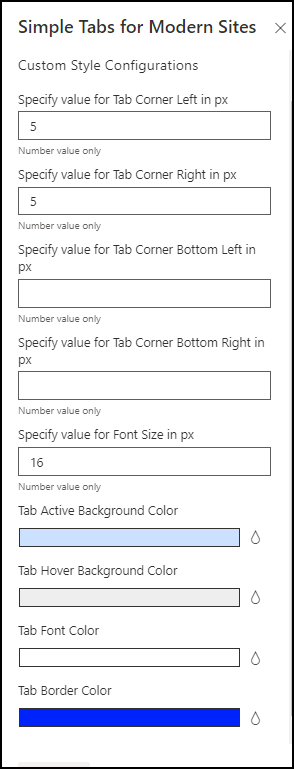
Styling options can be found under SimpleTabs web part properties, the following options can be configured:
- Tab Corner Left in px (roundness)
- Tab Corner Right in px (roundness)
- Tab Corner Bottom Left in px (roundness)
- Tab Corner Bottom Right in px (roundness)
- Font Size in px
- Active Tab Background Color
- Hover Background Color
- Tab Font Color
- Tab Border Color
Example changing colors, border roundness, font size and tab names.
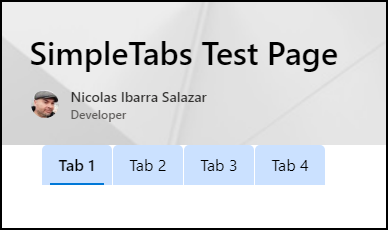
Another example changing colors and other custom tab names.